
Registering a Location for Marketplace
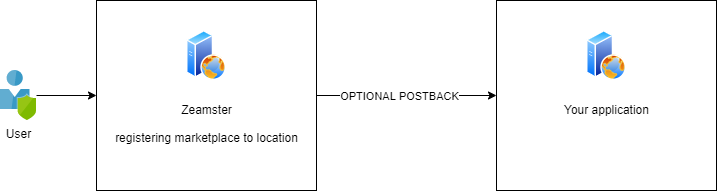
OPTIONAL POSTBACK:
the Marketplace can be configured that it will send a post/delete request to your application and can be templated to set some additional values
POST will be sent if it's the registration and a DELETE postback will be sent out if it's unregistering of the location for the marketplace
| Placeholder | Description |
| {{location.id}} | the ID of the location being linked to the addon |
| {{location.account_number}} | the account_number field of the specified location |
| {{location.location_api_id}} | the location_api_id of hte location |
example configuration for the url:
https://yourapp.com/api/postback?location_id={{location.id}}&api_id={{location.location_api_id}}&otherparameter=othervalue
example output
POST https://yourapp.com/api/postback?location_id=11ea858313aabde4bd2eb&api_id=my_api_id&otherparameter=othervalue
Registering a User for the Marketplace
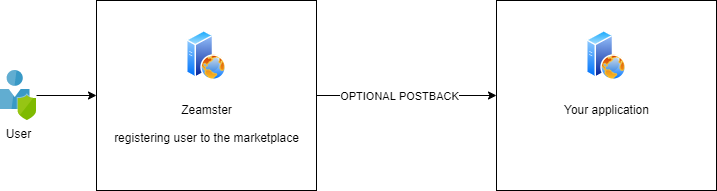
OPTIONAL POSTBACK:
the Marketplace can be configured that it will send a post/delete request to your application and can be templated to set some additional values
POST will be sent if it's the registration and a DELETE postback will be sent out if it's unregistering of the location for the marketplace
| Placeholder | Description |
| {{location.id}} | the ID of the location being linked to the marketplace |
| {{location.account_number}} | the account_number field of the specified location |
| {{location.location_api_id}} | the location_api_id of the location |
| {{user.id}} | the ID of the specified user |
| {{user.username}} | the username of the user |
| {{user.email}} | the email of the user |
| {{user.domain.url}} | the url of the Domain that the user belongs to |
example configuration for the url:
https://yourapp.com/postbacks?location_id={{location.id}}&email={{user.email}}&user_id={{user.id}}&additionalparam=anyvalue
example output
POST https://yourapp.com/postbacks?location_id=11ea858313aabde4bd2eb0fa&email=dev@youremail.com&user_id=1234567&additionalparam=anyvalue
IFrame Request
Once the location and user have been subscribed to the marketplace app, the user can now open the marketplace app in an iFrame in the UI. When the iFrame url is generated, it can be sent in one of two ways, depending on how it is configured. The two different ways are:
1) Encrypted URL parameters.
2) Plain Text URL parameters with an HMAC paramtere used to verify the request.
Whe using eithe rof the above methods, this should provide a way to open the iFrame of you application. If your application needs t connect back to our API, then there are two ways to do it.
- Have the access-token sent in the iFrame request. This token is good for 15 minutes and will work for short term use while the user is logged in.
- Have the user_oauth_url sent in the iFrame request. This url can be used to construct requests for setting up Oauth. The Oauth process is outlined here, and can be used for more complex intagrations and provides the ability to access our API when the user is not logged in.
Encrypted URL Params
If the data that is being passed in the URL params is sensitive, or you wish it not to be read by anyone, you can choose this option for your iFrame requests. This method will put all the URL parameters together and then encrypt them using AES-256 encryption. The seed for the encryption will be the secret that is provided to you upon setting up your application. It is a shared secret that you will be able to use to decrypt the URL params when you receive the iFrame request.
In the encrypted URL parameter method, the following parameters are always included:
- location_id
- user_id
- access-token (If the user has an access-token from logging in)
- contact_id (If the user is viewing a contact)
- contact_api_id (If the user is viewing a contact)
- user_oauth_url (base url of the api where oauth requests will be sent)
A sample iFrame URL for encrypted parameters would look something like this:
https://yourapp.com/redirection?data=U2FsdGVkX1%2Fj9Je0wTkvYSRUOGvJoFya6GchJVNcIkILOeJsp5wEtvbWqQkcdV%2BvgnmdA%2BvK0EO8UXkakPhzMQk0bAowaYFth%2F6oIJKMOj1u0DUq%2B97nT9e62sO9entYd6UjIqkMlU4Cps%2BuUwaHOWerjvvKC3xbCZNIHVVHiYSRiZlgszF0w72ph5Gd75EyQcY5d2QDvgtgOGRgx1khQzxy8zealC2wbZ0Yp6HVjzwq3%2FUb92sXsJ9FRaxrWzko
Example Decryption Process
The following code snippet shows how to decode the encrypted data paremeter using PHP
$encryptionKey = 'your key'; //must be given by zeamster
// decryption process
$dataString = base64_decode($_GET['data']); // this is the string received in the request
//removing Salted__ prefix
$salted = substr($dataString, strlen('Salted__'));
//removing salt string
$unsalted = substr($salted, 8);
$salt = substr($salted, 0, 8);

$salted = '';
$dx = '';
while (strlen($salted) < 48) {
    $dx = md5($dx . $encryptionKey . $salt, true);
    $salted .= $dx;
}
$key = substr($salted, 0, 32);
$iv = substr($salted, 32, 16);

 $json = openssl_decrypt($unsalted, 'aes-256-cbc', $key, true, $iv);
 $data = json_decode($json);
Plain Text URL Params
If you aren't passing a lot of sensitive data in the iFrame request or aren't concerned about it being encrypted, then you can use this method. This method allows the iframe URL parameters to be sent as normal, along with an additional parameter called hmac, which will be used to validate the iFrme request.
When configuring the iFrame for this method you can specify the following URL parameters to be sent:
- timestamp (will always be sent because this is used to regenerate the hmac)
- location_id (will always be sent because this is used to regenerate the hmac)
- user_id
- access-token (If the user has an access-token from logging in)
- contact_id (If the user is viewing a contact)
- contact_api_id (If the user is viewing a contact)
- user_oauth_url (base url of the api where oauth requests will be sent)
Here is a sampe iframe url generated by the UI
https://yourapp.com/redirection?location_id=location_id×tamp=current_timestamp&hmac=calculated_hmac
If the iframe_url is configured like so during the application setup:
https://yourapp.com/redirection?contact-id={{contact-id}}&user-id={{user-id}}
Then the resulting url which opens for the iframe would look somehting like the following:
https://yourapp.com/redirection?location_id=zzzzzzzz×tamp=1234567890&hmac=7336663573376635617337363566617&contact-id=xxxxxxxx&user-id=yyyyyyyy
Example HMAC Calculation
The hmac calculation process is similar to the ones used in other parts of our API. The only difference in this version of the hmac calculation is the two pieces of data used for the calculation. They are location_id and timestamp. The secret key used to generate the hmac will be the secret that is provided to you during the application setup.
Here is a sample javascript snippet that shows how to generate the hmac for a node application. You can use code similar to the below Javascript example to generate your own hmac, which will allow you to validate the hmac contained in the url that opens the iframe to your system.
const crypto = require('crypto');

const secret = 'your_secret_key';

const location_id = query_params.location_id;
const timestamp = query_params.timestamp;

// Timestamp validation code here

const data = location_id + timestamp;
let hash = crypto.createHmac('sha256', secret);

hash.update(data)

console.log(hash.digest('hex'));